모던 자바스크립트에서 비동기 프로그래밍은 빼놓을 수 없는 요소다.
비동기 프로그래밍은 브라우저가 이벤트에 응답하여 다른 코드를 실행하는 동안 백그라운드에서 오랜 시간이 걸리는 작업을 수행하게 해준다.
그중 프로미스는 가장 핵심적인 개념으로 많은 개발자들이 비동기 프로그래밍을 구현하는데 활용하고 있다.
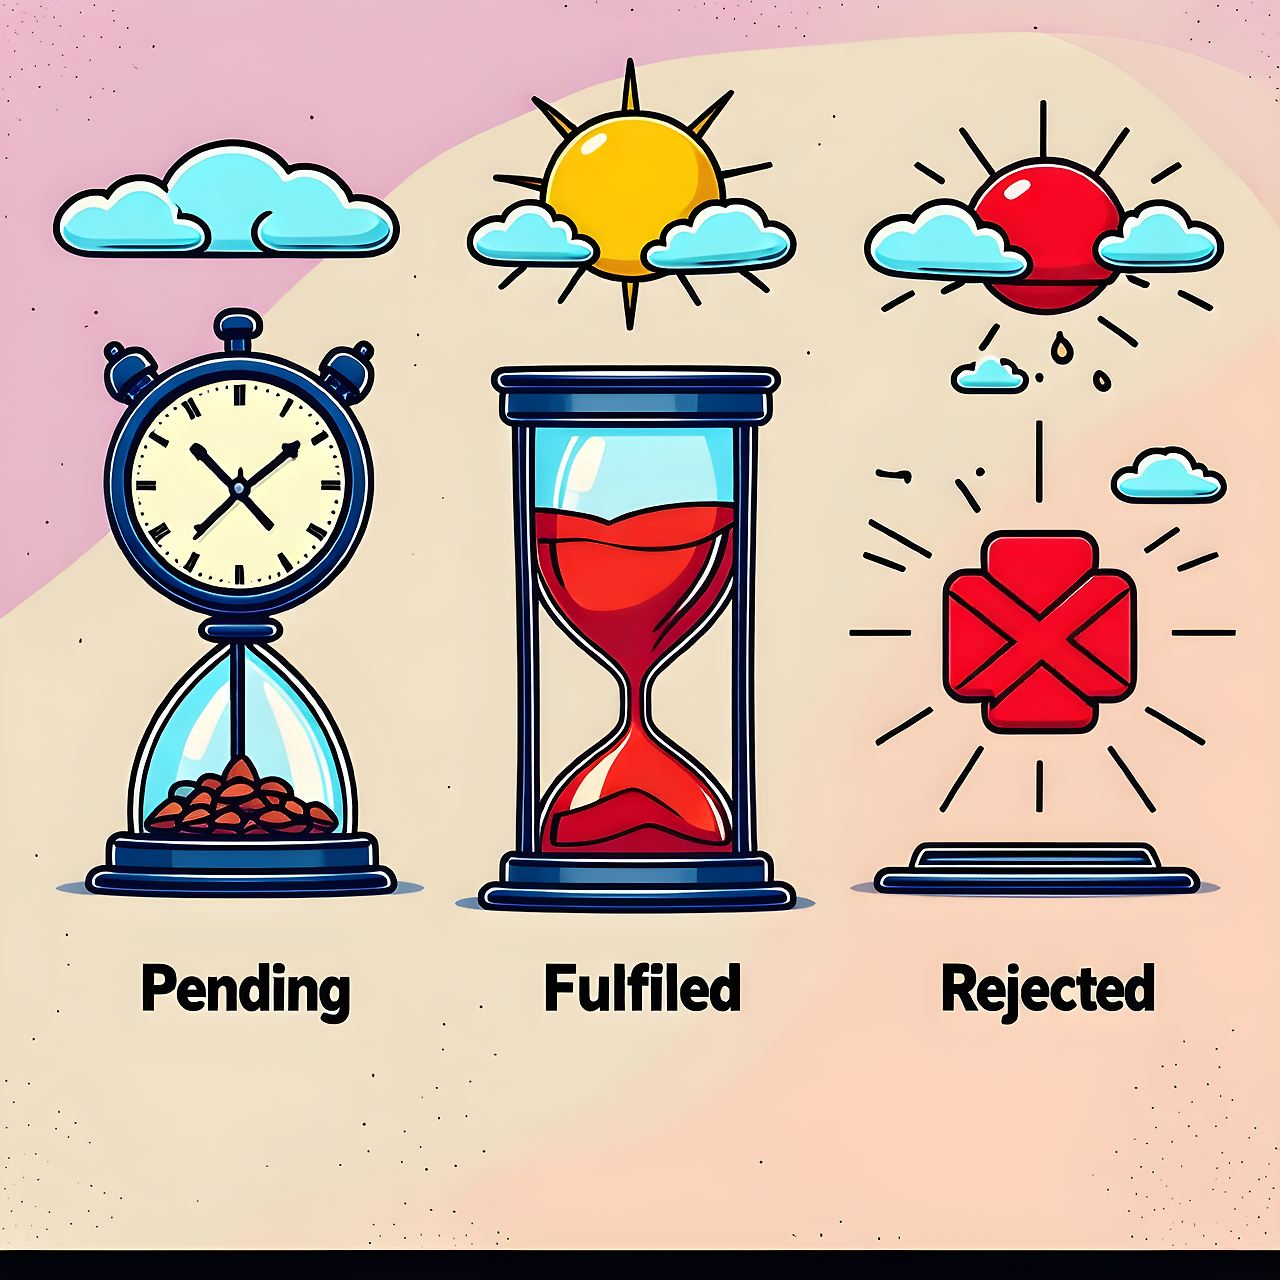
그런데 프로미스라고 하면 보통 Pending, Fulfilled, Rejected의 세가지나 async / await을 사용하는 정도로만 생각한다.
실무 관점에서 보면 이론적인 개념보다는 활용을 잘하는 것이 중요하기 때문에 당연하다.
그러나 고급스러운 비동기 프로그래밍을 구현하다보면 프로미스에 대한 깊은 이해는 필수적으로 요구된다.
이번 글에서는 프로미스 패턴을 끝까지 파헤쳐 보면서 알아두면 유용한 개념들을 학습하겠다.
프로미스의 기초
프로미스는 Promise 생성자를 사용하여 만들 수 있으며 함수를 인수로 받는다. 이 함수는 resolve와 reject 두 개의 인수를 전달받는데 resolve 함수는 비동기 작업이 성공적으로 완료되었을 때 호출되고 reject 함수는 작업이 실패했을 때 호출된다.
다음은 간단한 API 호출을 통해 프로미스를 사용하는 예시다.
요청은 사용자 정보를 가져오며, 성공과 실패 처리에서 resolve와 reject를 볼 수 있다.
// API 호출을 통한 Promise 예제
function fetchUserData(userId) {
  return new Promise((resolve, reject) => {
    // API 호출 시뮬레이션
    console.log(`사용자 ID ${userId}의 데이터를 요청 중...`);

    // fetch API 사용
    fetch(`https://jsonplaceholder.typicode.com/users/${userId}`)
      .then(response => {
        // HTTP 응답 상태 확인
        if (!response.ok) {
          // 응답이 실패일 경우 reject
          throw new Error(`HTTP 에러! 상태 코드: ${response.status}`);
        }
        return response.json(); // JSON 응답을 파싱
      })
      .then(data => {
        // 성공적으로 데이터를 받았을 때 resolve 호출
        resolve(data);
      })
      .catch(error => {
        // 네트워크 오류나 기타 예외 발생 시 reject 호출
        reject(`데이터 요청 실패: ${error.message}`);
      });
  });
}

// Promise 사용 예시
console.log('API 호출 시작...');

// 성공 케이스 - 존재하는 사용자 ID
fetchUserData(1)
  .then(userData => {
    console.log('사용자 데이터 요청 성공:');
    console.log(userData);
  })
  .catch(error => {
    console.log(error);
  });

// 실패 케이스 - 존재하지 않는 사용자 ID
fetchUserData(999)
  .then(userData => {
    console.log('이 코드는 실행되지 않을 것입니다.');
    console.log(userData);
  })
  .catch(error => {
    console.log(error);
  });

console.log('API 요청이 진행 중입니다. 결과를 기다려 주세요...');
프로미스 체이닝
고객사로부터 추가 요청사항이 들어왔다.
사용자 인증에 성공하면 해당 사용자가 작성한 게시글과 댓글 정보를 함께 가져와야 한다.
사용자가 작성한 게시글과 댓글은 사용자가 인증에 성공한 상황을 전제하고 있다.
따라서 각 요구사항들이 서로 이어지는 복잡한 비동기 로직을 구성해야 한다.
프로미스 체이닝 패턴을 사용하면 이와 같은 요구사항에 대응할 수 있다.
// API 호출과 프로미스 체이닝 예제
function fetchUserData(userId) {
  return new Promise((resolve, reject) => {
    console.log(`사용자 ID ${userId}의 데이터를 요청 중...`);

    fetch(`https://jsonplaceholder.typicode.com/users/${userId}`)
      .then(response => {
        if (!response.ok) {
          throw new Error(`HTTP 에러! 상태 코드: ${response.status}`);
        }
        return response.json();
      })
      .then(data => {
        resolve(data);
      })
      .catch(error => {
        reject(`사용자 데이터 요청 실패: ${error.message}`);
      });
  });
}

// 사용자의 게시물을 가져오는 함수
function fetchUserPosts(userId) {
  return new Promise((resolve, reject) => {
    console.log(`사용자 ID ${userId}의 게시물을 요청 중...`);

    fetch(`https://jsonplaceholder.typicode.com/posts?userId=${userId}`)
      .then(response => {
        if (!response.ok) {
          throw new Error(`HTTP 에러! 상태 코드: ${response.status}`);
        }
        return response.json();
      })
      .then(posts => {
        resolve(posts);
      })
      .catch(error => {
        reject(`게시물 요청 실패: ${error.message}`);
      });
  });
}

// 첫 번째 게시물에 대한 댓글을 가져오는 함수
function fetchPostComments(postId) {
  return new Promise((resolve, reject) => {
    console.log(`게시물 ID ${postId}의 댓글을 요청 중...`);

    fetch(`https://jsonplaceholder.typicode.com/comments?postId=${postId}`)
      .then(response => {
        if (!response.ok) {
          throw new Error(`HTTP 에러! 상태 코드: ${response.status}`);
        }
        return response.json();
      })
      .then(comments => {
        resolve(comments);
      })
      .catch(error => {
        reject(`댓글 요청 실패: ${error.message}`);
      });
  });
}

// 프로미스 체이닝을 사용한 데이터 요청
console.log('프로미스 체이닝 시작...');

// 사용자 정보 → 해당 사용자의 게시물 → 첫 게시물의 댓글 순서로 데이터 요청
fetchUserData(1)
  .then(userData => {
    console.log('1. 사용자 데이터 요청 성공:');
    console.log(`이름: ${userData.name}, 이메일: ${userData.email}`);

    // 사용자의 게시물 요청 (체이닝의 첫 번째 단계)
    return fetchUserPosts(userData.id);
  })
  .then(posts => {
    console.log('2. 사용자의 게시물 요청 성공:');
    console.log(`총 게시물 수: ${posts.length}`);
    console.log(`첫 번째 게시물 제목: ${posts[0].title}`);

    // 첫 번째 게시물의 댓글 요청 (체이닝의 두 번째 단계)
    return fetchPostComments(posts[0].id);
  })
  .then(comments => {
    console.log('3. 게시물 댓글 요청 성공:');
    console.log(`총 댓글 수: ${comments.length}`);
    console.log(`첫 번째 댓글 내용: ${comments[0].body.slice(0, 50)}...`);

    // 최종 결과 반환
    return {
      status: '성공',
      message: '모든 데이터를 성공적으로 가져왔습니다.'
    };
  })
  .then(result => {
    console.log('4. 전체 프로세스 완료:');
    console.log(result);
  })
  .catch(error => {
    // 체인의 어느 단계에서든 오류가 발생하면 이 catch 블록으로 이동
    console.error('에러 발생:', error);
  })
  .finally(() => {
    // 성공 또는 실패와 관계없이 항상 실행
    console.log('작업 완료 - 프로미스 체인 종료');
  });

console.log('비동기 작업이 백그라운드에서 실행 중입니다...');
프로미스 병렬 처리
고객사에서 추가 요구사항이 왔다.
위에서 구현한 사용자 데이터 조회 로직이 너무 비효율적이라는 것이다.
사용자의 정보를 순차적으로 가져오다보니 속도가 너무 느린 문제가 발생했다.
이럴 때는 병렬처리 패턴을 사용하면 좋다.
Promise.all는 여러 프로미스를 동시에 실행할 수 있게 한다.
// Promise.all 예제 - 여러 API 요청을 병렬로 처리하기

// 사용자 데이터 가져오기
function fetchUser(userId) {
  return fetch(`https://jsonplaceholder.typicode.com/users/${userId}`)
    .then(response => {
      if (!response.ok) throw new Error('사용자 데이터 요청 실패');
      return response.json();
    });
}

// 게시물 데이터 가져오기
function fetchPosts(userId) {
  return fetch(`https://jsonplaceholder.typicode.com/posts?userId=${userId}`)
    .then(response => {
      if (!response.ok) throw new Error('게시물 데이터 요청 실패');
      return response.json();
    });
}

// 할일 목록 가져오기
function fetchTodos(userId) {
  return fetch(`https://jsonplaceholder.typicode.com/todos?userId=${userId}`)
    .then(response => {
      if (!response.ok) throw new Error('할일 목록 요청 실패');
      return response.json();
    });
}

// 사용자 프로필 데이터 한 번에 로드하기
function loadUserProfile(userId) {
  console.log(`사용자 ID ${userId}의 프로필 데이터 로딩 중...`);

  // Promise.all을 사용해 세 가지 요청을 병렬로 처리
  Promise.all([
    fetchUser(userId),
    fetchPosts(userId),
    fetchTodos(userId)
  ])
    .then(results => {
      // 결과 배열 분해
      const [user, posts, todos] = results;

      // 결과 출력
      console.log('✅ 모든 데이터 로드 완료!');
      console.log(`- 사용자: ${user.name} (${user.email})`);
      console.log(`- 게시물: ${posts.length}개`);
      console.log(`- 할일 목록: ${todos.length}개 (완료: ${todos.filter(todo => todo.completed).length}개)`);

      return {user, posts, todos}; // 모든 데이터를 객체로 반환
    })
    .catch(error => {
      console.error('❌ 에러 발생:', error.message);
      console.error('하나 이상의 요청이 실패했습니다.');
    });
}

// 예제 실행
loadUserProfile(2);
console.log('데이터 요청이 진행 중입니다...');
프로미스 메모이제이션
고객사에서 또 요구사항이 왔다.
현재 구현된 사용자 로직이 너무 빈번하게 DB 호출을 한다는 것이다.
고객사 서비스는 사용자의 활동이 하루에 한 번 정도로 매우 적게 발생하기 때문에 잘 변하지 않는 사용자 데이터를 매번 DB에서 가져올 필요가 있냐는 것이다.
이럴 때는 프로미스에 메모이제이션 로직을 더해주면 좋다.
프로미스 자체적인 기능은 아니고, 자바스크립트의 Map을 활용한 캐싱패턴으로 중복된 프로미스 요청을 방지한다.
// Promise 메모이제이션 예제 - 중복 API 호출 방지하기

// 메모이제이션을 위한 캐시 Map 생성
const cache = new Map();

// 메모이제이션된 API 호출 함수
function fetchUserWithCache(userId) {
  const cacheKey = `user-${userId}`;

  // 캐시에 해당 키가 있는지 확인
  if (cache.has(cacheKey)) {
    console.log(`Cache HIT: 사용자 ID ${userId} 데이터를 캐시에서 가져옵니다.`);
    return cache.get(cacheKey); // 캐시된 Promise 반환
  }

  // 캐시에 없으면 새 요청 생성
  console.log(`Cache MISS: 사용자 ID ${userId} 데이터를 API에서 가져옵니다.`);

  // 새 Promise 생성 및 캐시에 저장
  const promise = fetch(`https://jsonplaceholder.typicode.com/users/${userId}`)
    .then(response => {
      if (!response.ok) throw new Error(`HTTP 에러: ${response.status}`);
      return response.json();
    })
    .then(data => {
      console.log(`사용자 ID ${userId} 데이터 로드 완료!`);
      return data; // 데이터 반환
    })
    .catch(error => {
      // 오류 발생 시 캐시에서 삭제
      console.error(`에러 발생: ${error.message}`);
      cache.delete(cacheKey);
      throw error; // 오류 전파
    });

  // Promise를 캐시에 저장
  cache.set(cacheKey, promise);
  return promise;
}

// 메모이제이션 테스트
async function testMemoization() {
  try {
    conso
프로미스 경쟁
고객사에서 긴급 요청이 왔다.
현재 메인 고객 DB 서버에 디도스 공격이 들어와 응답 속도가 느려졌는데, 하필이면 내일 고위 간부 앞에서 시스템 시연이 있다고 한다.
다행히 성능은 많이 부족하지만 백업 DB 서버가 있어, 이를 활용하면 뭔가 해결책이 있지 않겠냐고 한다.
개발팀은 프로미스 경쟁을 통해 요청이 더 빠른 데이터를 화면에 보여주기로 했다.
프로미스 경쟁은 여러 프로미스를 동시에 실행하고 가장 먼저 완료된 결과를 반환한다.
// Promise.race 예제 - 사용자 데이터 가져오기 (경쟁 상황)

// 주 서버에서 사용자 데이터 가져오기
function fetchUserFromMainServer(userId) {
  return new Promise((resolve, reject) => {
    console.log(`주 서버에서 사용자 ID ${userId} 데이터 요청 중...`);

    // 서버 응답 시간 시뮬레이션 (1.5~3초)
    const delay = 1500 + Math.floor(Math.random() * 1500);

    setTimeout(() => {
      // 가끔 서버 오류 시뮬레이션 (20% 확률)
      if (Math.random() < 0.2) {
        console.log(`주 서버 오류: 사용자 ID ${userId} 요청 실패`);
        reject(new Error('주 서버 오류: 데이터베이스 연결 실패'));
        return;
      }

      console.log(`주 서버: ${delay}ms 후 사용자 ID ${userId} 데이터 응답 완료`);
      resolve({
        source: '주 서버',
        responseTime: delay,
        user: {
          id: userId,
          name: `사용자 ${userId}`,
          email: `user${userId}@example.com`,
          premium: true,
          lastLogin: '2023-04-10'
        }
      });
    }, delay);
  });
}

// 백업 서버에서 사용자 데이터 가져오기
function fetchUserFromBackupServer(userId) {
  return new Promise((resolve, reject) => {
    console.log(`백업 서버에서 사용자 ID ${userId} 데이터 요청 중...`);

    // 백업 서버는 약간 더 느림 (2~4초)
    const delay = 2000 + Math.floor(Math.random() * 2000);

    setTimeout(() => {
      // 백업 서버도 가끔 실패 (10% 확률)
      if (Math.random() < 0.1) {
        console.log(`백업 서버 오류: 사용자 ID ${userId} 요청 실패`);
        reject(new Error('백업 서버 오류: 서비스 일시적 중단'));
        return;
      }

      console.log(`백업 서버: ${delay}ms 후 사용자 ID ${userId} 데이터 응답 완료`);
      resolve({
        source: '백업 서버',
        responseTime: delay,
        user: {
          id: userId,
          name: `사용자 ${userId}`,
          email: `user${userId}@example.com`,
          premium: false,  // 백업 서버는 프리미엄 상태 정보가 최신이 아닐 수 있음
          lastLogin: '2023-04-05'  // 백업 서버는 로그인 정보가 최신이 아닐 수 있음
        }
      });
    }, delay);
  });
}

// 캐시에서 사용자 데이터 가져오기
function fetchUserFromCache(userId) {
  return new Promise((resolve) => {
    console.log(`캐시에서 사용자 ID ${userId} 데이터 요청 중...`);

    // 캐시는 매우 빠름 (0.1~0.5초)
    const delay = 100 + Math.floor(Math.random() * 400);

    setTimeout(() => {
      console.log(`캐시: ${delay}ms 후 사용자 ID ${userId} 데이터 응답 완료`);
      resolve({
        source: '캐시',
        responseTime: delay,
        user: {
          id: userId,
          name: `사용자 ${userId}`,
          email: `user${userId}@example.com`,
          premium: false,  // 캐시된 데이터는 최신 상태가 아닐 수 있음
          lastLogin: '2023-04-01',  // 캐시된 로그인 정보는 최신이 아닐 수 있음
          cached: true
        }
      });
    }, delay);
  });
}

// 타임아웃 Promise 생성
function timeout(ms) {
  return new Promise((_, reject) => {
    setTimeout(() => {
      reject(new Error(`타임아웃: ${ms}ms 초과`));
    }, ms);
  });
}

// 내결함성 있는 사용자 데이터 요청 함수
function fetchUserReliably(userId) {
  console.log(`사용자 ID ${userId} 데이터 요청 시작 (다중 소스)`);

  return Promise.race([
    fetchUserFromMainServer(userId),
    fetchUserFromBackupServer(userId),
    fetchUserFromCache(userId),
    timeout(3500)  // 3.5초 타임아웃
  ]);
}

// 프로그레시브 로딩 패턴 구현
async function loadUserWithProgressiveFidelity(userId) {
  console.log(`사용자 ID ${userId} 프로그레시브 로딩 시작...`);

  // 먼저 캐시 데이터만으로 경쟁
  try {
    const cachedResult = await Promise.race([
      fetchUserFromCache(userId),
      timeout(500)  // 캐시 데이터는 0.5초 내에 도착해야 함
    ]);

    console.log('🔄 빠른 캐시 데이터 표시 (UI 업데이트):', cachedResult.user.name);

    // UI 업데이트 로직은 여기에 작성...

    // 이후 백그라운드에서 최신 데이터 로딩
    const freshResult = await Promise.race([
      fetchUserFromMainServer(userId),
      fetchUserFromBackupServer(userId),
      timeout(5000)  // 5초 타임아웃
    ]);

    console.log('✅ 최신 데이터로 UI 업데이트:', freshResult.user.name);
    console.log(`데이터 소스: ${freshResult.source}`);

    return freshResult.user;
  } catch (error) {
    console.error('❌ 데이터 로딩 실패:', error.message);
    throw error;
  }
}
마치며
지금까지 자주 활용되는 자바스크립트 프로미스 패턴들을 살펴보았다.
개발하며 자주 쓰는 것도 있고, 그렇지 않은 것도 있다.
쓰임을 떠나서 이렇게 한번 정리하는 시간을 가지면 언젠가 도움이 될 것이라고 생각한다.
'Front-End > 디자인 패턴' 카테고리의 다른 글
| MVVM 패턴의 이해 - MVC, MVP 패턴과의 비교 (0) | 2025.02.12 |
|---|---|
| MVP 패턴 이해하기: 개념, 활용 사례, MVC와의 차이점 (0) | 2025.02.05 |
| MVC 패턴의 역사와 현대 자바스크립트 패턴에 끼친 영향 (0) | 2025.02.03 |
